This guide gives a brief introduction on how to create custom Jupyter notebooks using the ProtProtocols infrastructure. As a basis, we will be using the IsoProt protocol.
This guide assumes that the following terms mean something to you:
- Git
- Jupyter
- Python
Setup
Clone the GitHub repository of IsoProt as a starting point:
git clone https://github.com/ProtProtocols/IsoProt.git
The main files that we will be focusing on are:
- Isobaric_Workflow.ipynb
- The Jupyter notebook that represents the
IsoProtprotocol. - Scripts/search.ipy
- Script file containing all the steps of the search process. Each step is one Python function. This includes adapting MGF file titles, creating the decoy database, performing search using SearchGUI and using PeptideShaker to create the result files.
- Scripts/search_ui.ipy
- The scripts used to generate GUI components for search parameters and experimental setup.
Note: We additionally created a new Jupyter widget that displays a button to execute subsequent cells in the notebook. The repository for this project can be found here.
Seeing How IsoProt Works
By default, all the Python and R code is hidden. To see how the notebook actually works, unhide the code by clicking the Toggle everything button:
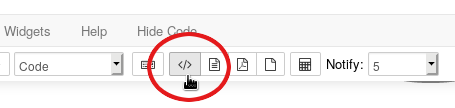
This should give you a first idea of how to customize the notebook to your needs.
Developing within the Docker container
The easiest way to develop new notebooks is directly within the Docker container. Thereby, all external tools are already in place and you know that your scripts are fully compatible with the ProtProtocols container.
To do this, simply launch IsoProt as you normally do, using docker-launcher or manually.
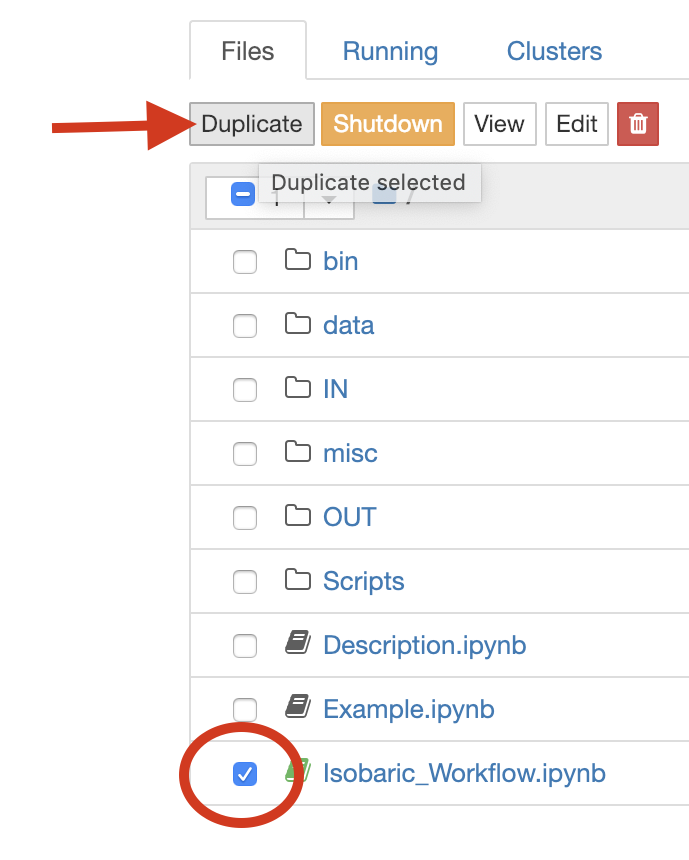
We recommend to start by duplicating the Isobaric_Workflow.ipynb and modifying it or starting from scratch with an empty notebook. To duplicate a notebook, select the checkbox left of the notebooks name and click “Duplicate”:
Warning: If you save your notebook, this is only saved in the Docker container and is lost once you close the container. Save your notebook on your hard-disk using “File” > “Download as” > “Notebook (.ipynb)”!
Advanced users are encouraged to map additional local folders when running docker image. Such locations are ideal for custom Notebooks and Script files. See Manually run IsoProt for more information on mapping folders when running docker images.
Using ProtProtocols Jupyter scripts
A Script in ProtProtocols terminology is an .ipy file which is intended to be run from Jupyter notebook (using **%run
Our Jupyter Python scripts each contain a header with detailed documentation about how to use them (copied from search.ipy):
"""
This module provides the complete functionality to run a MS/MS search
and convert the results into a TSV-formatted text file.

Input (search_in):
  :key workdir: Absolute path to the working directory to use
  :key fasta_db_path: Absolute path to the FASTA file to use
  :key generate_decoy: Boolean to indicate whether reversed decoy sequences should be generated.
  :key input_directory: Absolute path(s) to the directory(ies) containing the MS/MS spectra files (in MGF format)
  :key precursor_tolerance: The precursor tolerance in ppm
  :key fragment_tolerance: The fragment tolerance in Da
  :key labelling: The labelling PTM definition
  :key labelling_method: The labelling method's name
  :key missed_cleavages: Number of missed cleavages allowed (int)
  :key var_ptms: A list/duple of variable PTMs to include in the search
  :key fixed_ptms: A complete string definition of the fixed PTMs to use (not
                     including the labelling method).
  :key on_search_complete: If set, this function is called once the search is complete.
Output (search_out):
  :key result_files: Path to the (TSV) result files.
"""
To call a script from Jupyter, we first create a global object containing the input parameters, and then insert the respective script file:
# Create input object
search_ui_in = {
	"on_complete_description": "Run my search",
	"on_complete_function": complete_function,
    "on_change_input_dir": on_change_input_dir}

%run "Scripts/search_ui.ipy"
Thereby, if you want to create a notebook that always performs a search using the same parameters (ie. for Q/C of your mass spec), simply create a static object for your settings and call the script as mentioned above.
Warning: Our scripts, especially search.ipy, are tightly linked with our Docker container. Therefore, simply copying them to a different folder on your computer and running a Jupyter notebook there will not work. The scripts expect that external tools, such as SearchGUI, are installed at very specific locations as it is the case in the Docker container.
Adapting the R code - PSM level
Our search.ipy script uses PeptideShaker to convert all search results to tab-delimited text files. Therefore, they can easily be loaded into R for further processing.
The result and MGF files are loaded into R below the Load and Quantify Spectra at the peptide level heading. This cell also takes care of quantifying the PSMs using MSnbase.
Note: Most of our R code is called using the ro.reval function. Generally, it is more comfortable to mark a complete cell to contain R using the %%R magic command. We did not use this approach since the current implementation does not allow us to display status messages while the R code is running. This caused many users to think that the application had stopped for longer analyses.
Near the end of these cells, the PSMDat list stored in the R namespace contains the complete quantitative results of the experiments at the PSM level. The list contains one MSnSet object per TMT/iTRAQ run. If the run was processed in multiple fractions, these are already combined into a single object.
Adapting the R code - Protein level
The PSM-level quantified features are combined at the protein level in the cell below the Protein Inference heading.
This cell stores the protein-level quantification values in the ProtDat list. This list again contains one MSnSet object per TMT/iTRAQ run.
The protein-level expression data for the different runs is then combined in the cell below the Sample similarity and statistics heading.